10-Minute Manicures: A Nail Dash How-To
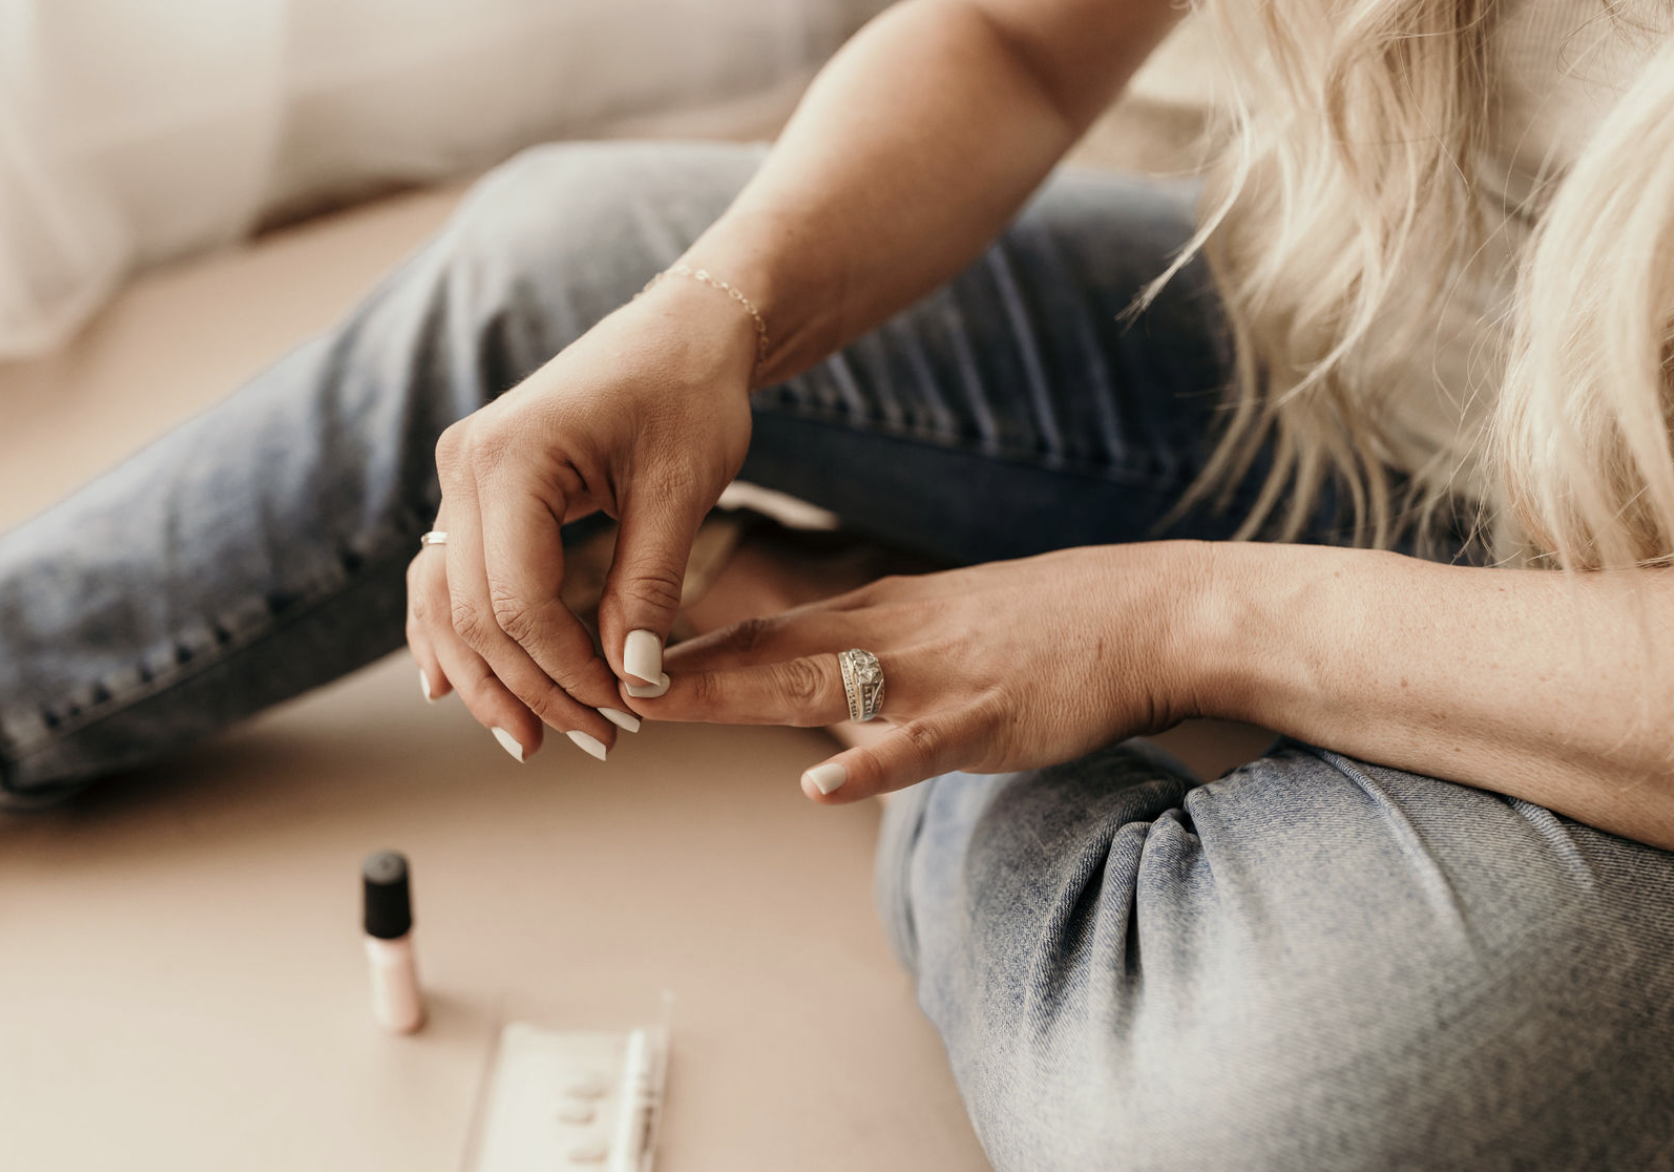
If you are new to Red Aspen pop-on nails or need a quick refresher, you’ve come to the right place! Here is a step-by-step guide on how to put nail dashes on in a flash … and do them perfectly!
How I Apply My Nails
I make sure my hands are clean, and then I buff them with the included emory board. You want to rough up each natural nail a bit so that they have a bit of grit and hold to them.
Get rid of the dust by either blowing it off or (as recommended) swiping it with rubbing alcohol. This will ensure all the oils are removed, and the glue can do its best job at sticking!
Lay Out Your Nails
As previously mentioned, every box comes with several sizes of dashes so that you can find your perfect fit. I like to find my sizes and lay them all out on the table in order, so they’re easy to find and apply.
Time to Glue
Apply a thin line down the center for 1-3 days of wear. Then, take a dash and lightly sit it into place. Once it is straight, press it down and gently slide it barely under your cuticle.
Add pressure and gently rock it back and forth for about 15 seconds.
For longer wear times, take your glue and dot a pearl-sized blob onto your natural nail for more extended wear. Then, take a dash and swipe your glue on the back of that before applying it at a 45-degree angle.
Apply to both the nail bed and the dash for the most lasting wear. Glue adheres to itself the very best!
If you want to amp up your routine and maximize every minute, I highly recommend Red Aspen’s Brush On Nail Dash Glue! It goes on thin and evenly so that you can get your nails on even more quickly!
If the glue does ooze out the side, use the inner side of your fingers of the opposite hand to swipe the glue away from the dash. This will scrape off your skin easily once it dries.
Start Applying
I like to work from my pinkie fingers, alternating hands as I go, ending with my thumbs.
Remember, the tiny little number on the underside of the dash will go toward your fingertips and away from your cuticle.
Once all your fingers are beautiful, you can trim or file each dash down to your desired length … or leave them alone and go about your day!
If you’ve lost all your tools or need new cuticle nippers and more cuticle oil, check out Red Aspen’s manicure tool options.
There’s nothing better than a fresh manicure - and Red Aspen nails dashes deliver every single time!
xoxo,
Jazz
Once they’re on, they’ll have to come off. Check out my Nail Dash Removal Post HERE


